Discover the art of candle care to enhance your experience and savor every moment of The Lumi Candle's warm, inviting glow. Learn simple tips to make your candles last longer and burn beautifully.
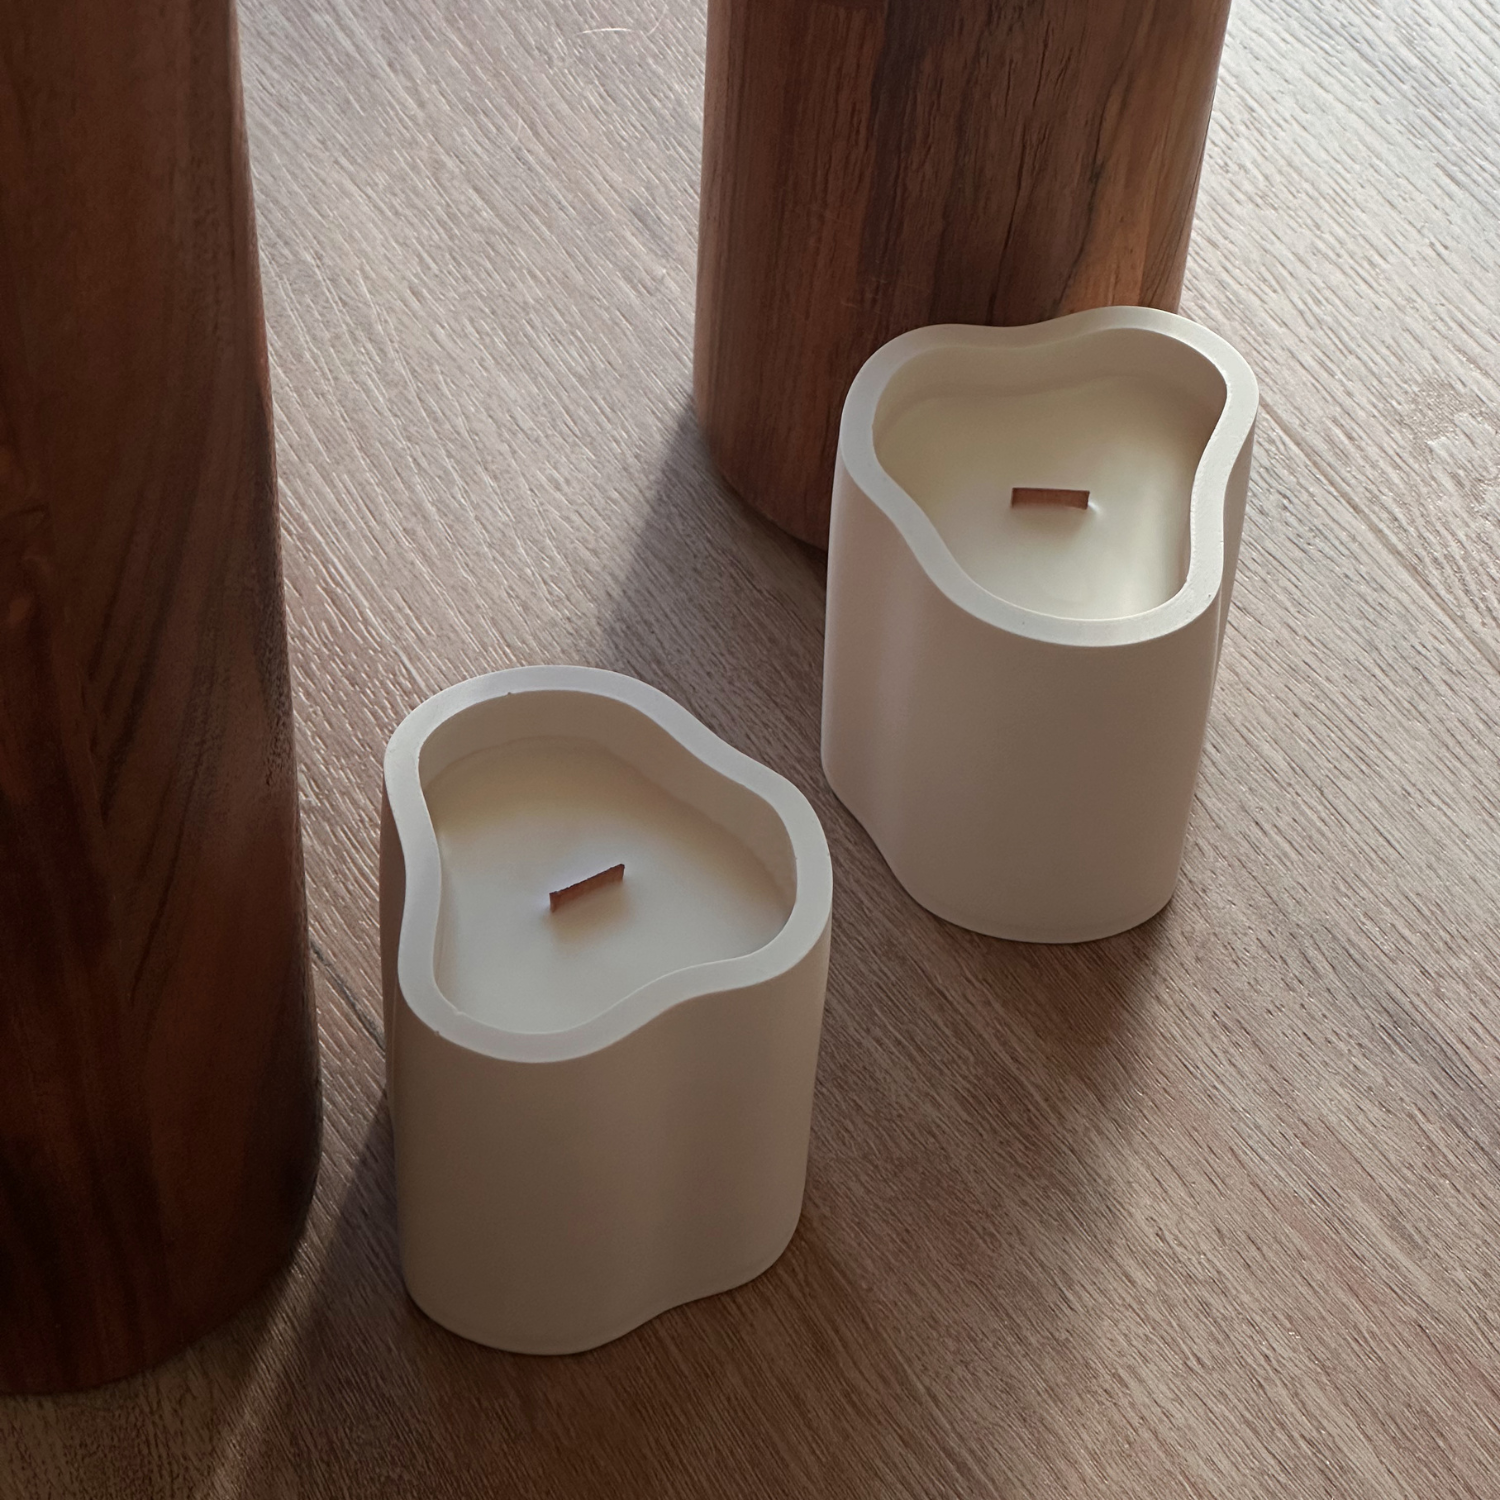
Aftercare for your candle vessel is key to preserving its unique character and extending its life. While the nature of jesmonite may prevent it from returning to its original, pristine state, these thoughtful cleaning steps will help maintain its beauty and ensure it remains in a reusable condition.
Step 1: Wax Removal
Before beginning any cleaning process, ensure that the vessel is completely cool to the touch. To remove excess wax from the vessel, place in the freezer for about an hour. The cold temperature will harden the wax, making it easier to gently scrape away using a wooden or plastic spatula. Avoid using metal tools, as they can scratch or damage the surface. Once the bulk of the wax is removed, use a paper towel to wipe away any remaining residue.
step 2: dry dusting
Start with a gentle, dry dusting to remove any loose soot or debris from the surface. Use a soft, lint-free cloth or a soft-bristled brush to carefully sweep away particles without scratching or dulling the finish. This step prepares the vessel for deeper cleaning by removing the initial layer of grime and minimising the risk of scratching during the subsequent steps.
step 3: mild cleaning
Prepare a gentle cleaning solution by mixing warm water with a small amount of mild dish soap. Avoid using harsh chemicals, bleach, or abrasive cleaners, as these can strip the finish and cause discolouration or deterioration of the surface. The goal is to cleanse without compromising the vessel's texture.
step 4: gentle scrubbing
Dip a soft sponge or cloth into the soapy water and wring out any excess liquid to avoid over-wetting. Gently scrub the stained or sooty areas in a circular motion, applying only light pressure. Avoid soaking the vessel, as too much moisture can weaken or cause unwanted residue. The aim is to lift the soot without soaking the porous material.
step 5: sanding (if needed)
This step is optional and suggested after allowing 24 hours for the vessel to dry following steps 1-4.
If stubborn soot stains remain after cleaning, consider using a fine-grit sandpaper, such as 400-grit, to carefully sand the affected areas. Sand with light, even pressure to avoid creating grooves or damaging the surface. Once sanding is complete, use a dry cloth to wipe away any dust or debris. This method should only be used sparingly to preserve the vessel's integrity.
step 6: rinse & dry
After cleaning and/or sanding, rinse the vessel with clean water to remove any soap residue, dirt, or sanding dust. Be thorough, as any leftover residue can dull the surface or cause streaking. Use a soft, clean cloth to dry the vessel completely, ensuring no water is left to seep into the vessel or cause spotting.
Lastly, inspect the vessel for any remaining soot or stains. If residue persists, repeat the cleaning process, focusing on gentle techniques to avoid damaging the surface.
WE'RE HERE TO HELP
If you require any further guidance or have questions about maintaining your vessel, please feel free to contact us. We are here to provide any assistance you may need to help preserve the beauty and longevity of your piece.